In today’s #colourseries we are jumping across the pond and minding the gap, all in time for tea and biscuits.

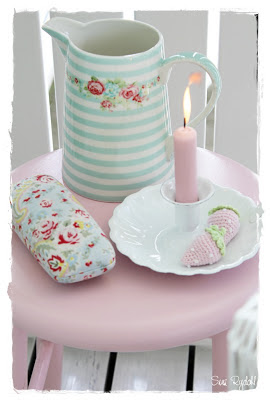
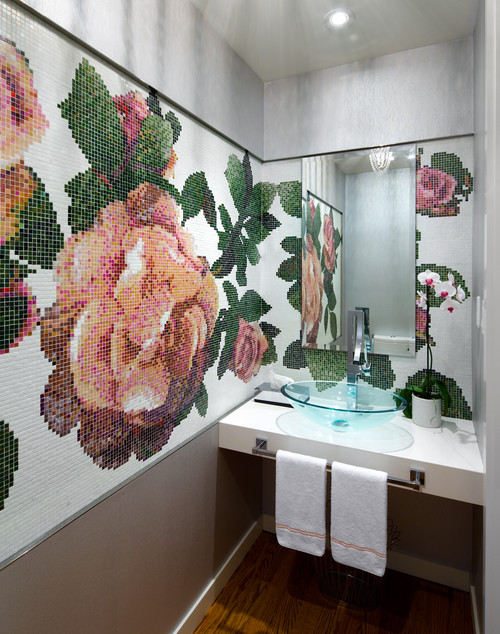
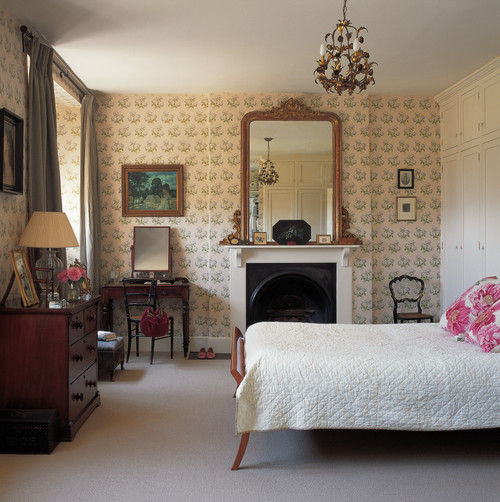
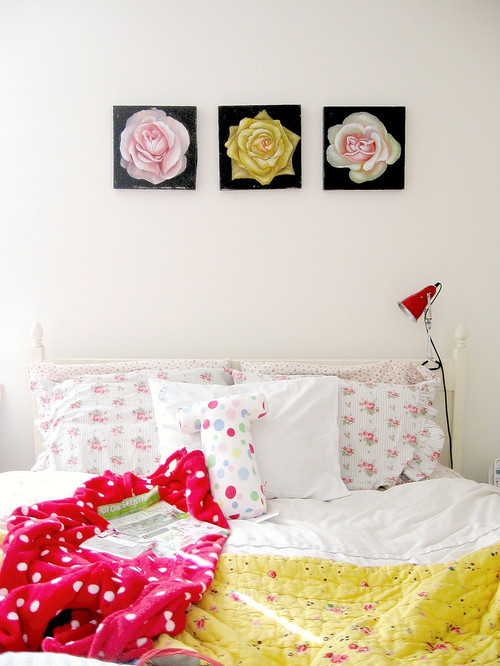
While many associate the term ‘English Rose’ with a fair skinned, dark haired, rosy cheeked Brit it also refers to a gorgeous tea rose-like flower and a lovely shade of pink. The ‘shabby chic’ revolution is responsible for making English Rose design a staple in the quintessential delicate decor. In prints, the English Rose is frequently featured on a bed of minty blue or snowy white and embodies the delicate, chic, British elegance we love.
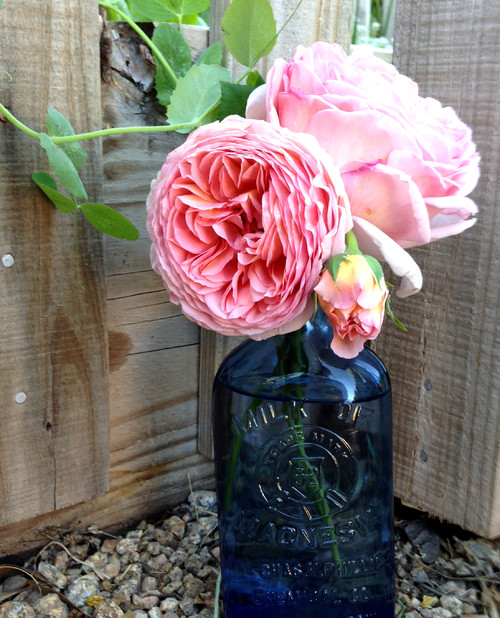
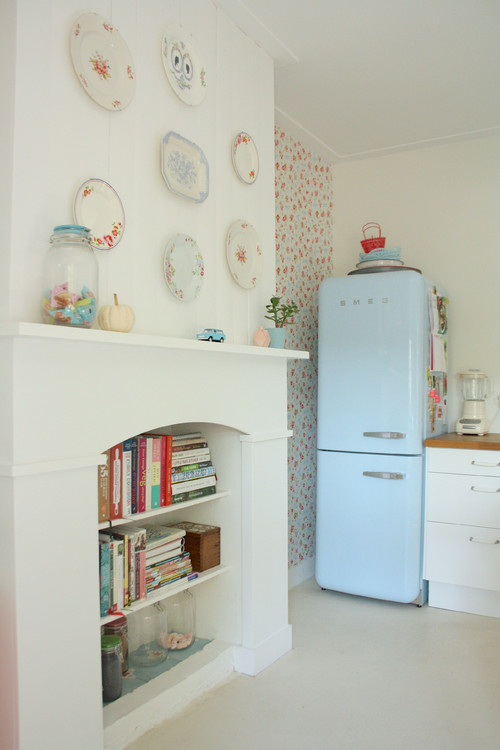
This sweet shade, best described as a ‘light dusty pink’, is absolutely lovely glossy or matte, but we think it would be a great shade for DIY Chalk Paint.
What you’ll need:
1 x Preval Sprayer
1 x 16 oz plastic container
1 x 3 TBS cornstarch
1 x 6 oz of water (3/4 cup)
1 x 1 ¼ cup of English Rose paint
Step 1 In 16oz plastic container, mix cornstarch and water.
Step 2 Once cornstarch and water are mixed thoroughly, add paint to your solution.
Step 3 Fill Product Container with paint mixture (make sure the mixture is smooth with no clumps) to desired level, Be careful not to fill the container above the line on the shoulder. Attach power unit, and align red insert, opposite air vent on coupler.
Note: it is very important to mix paint prior to attaching power unit. Never shake the container once it has been attached to the power unit.
Step 4 Ready the Sprayer by using for 15 seconds to prime valve with product. Depending on the type of paint you’ve chosen, you may need to dilute paint mixture further.
Step 5 Practice spraying. Practice on a piece of cardboard or scrap metal if you have never used a PREVAL® sprayer. Start spraying with the Sprayer in motion and release the button while in motion at the end of the stroke to avoid runs. Overlap strokes, do not tip past 45°. Hold the Sprayer upright, 6” to 10” from the surface being sprayed. If you are too close to the surface, paint will build up too quickly and will run. If you are too far away from the surface, the paint will dry before it reaches the surface and dimpling will result. Keep the Sprayer moving constantly.
For best results, apply 2 or more thin coats as opposed to 1 thick coat. Spray at room temperature.
If the Preval Power Unit becomes too cold from continuous spraying, you may see sputtering or a decrease in power. Let the unit rest until it reaches room temperature before trying to spray again. If this does not work, wrap the unit with a warm towel to continue spraying.
Step 6 Begin your project by spraying off workpiece, start to move back across, release button after moving completely off workpiece, repeat process with 35%-50% overlap. Starting and finishing off workpiece will lessen chance of “hot spotting” at beginning or ending of paint stroke.
Step 7 Clean your Preval Sprayer as usual and be sure to store remaining mixture in a sealed container in cool, dark place for future projects!
While this effect is great in a frame, it also has a soft, matted effect on all kinds of décor accessories and crafts!